

Learning how to cook deer backstrap is one of the most rewarding skills a home cook can pick up. Cut from along the spine of the deer, the backstrap is the most tender and most prized cut of venison — the wild-game equivalent of a fine beef loin, but leaner and deeper in flavor. Yet because it carries almost no fat, it is also easy to ruin: a few extra minutes in the pan can turn this beautiful cut dry, gray, and tough.
This guide walks you through the entire process, from trimming the silver skin to seasoning, pan-searing, finishing in the oven, checking doneness, and slicing. The method below will help you serve venison that is juicy, rosy, and full of flavor.
What Is Deer Backstrap?
The backstrap is the longissimus dorsi muscle, a long, cylindrical muscle that runs along either side of the deer’s spine, outside the rib cage. Every deer yields two of them, and because the muscle does very little work, the meat is exceptionally tender with a fine grain. When people talk about the best cut on a deer, this is the one they mean.
Backstrap vs. Tenderloin
Newcomers often confuse the backstrap with the tenderloin. They are different cuts. The tenderloins are two small, delicate strips tucked inside the body cavity, along the underside of the spine. The backstraps are much larger, sit on top of the ribs, and are the steaks most hunters proudly bring home. Both are tender, but the backstrap is the cut you will cook most often.
Why Backstrap Deserves Special Care
Venison is dramatically leaner than beef. A backstrap has almost no marbling and very little exterior fat, which means it cooks fast and has no cushion against overcooking. With a hot pan, a thermometer, and a short rest, you can get edge-to-edge rosy meat with a deep brown crust — no fancy equipment required.
Trimming the Silver Skin
Before you think about seasoning, you need to trim. Deer backstrap is covered in patches of silver skin, a thin, silvery-white membrane of connective tissue. Unlike fat, silver skin does not melt or render during cooking. Leave it on, and it shrinks, curls the meat, and chews like rubber. Taking ten minutes to trim it properly is the single biggest upgrade you can make to the final dish.
Here is how to do it:
- Chill the backstrap well. Cold meat is firmer and much easier to trim cleanly.
- Slide a thin, sharp boning or fillet knife under one end of a silver skin patch, with the blade angled slightly upward, away from the meat.
- Grip the loosened membrane with a paper towel, pull it taut, and slide the knife along the surface of the meat, shaving the membrane off in strips. Let the knife do the work — sawing tears the meat.
- Trim away any large pockets of fat or dried, discolored edges as you go. Deer fat can taste waxy and strong, so most cooks remove it.
- Pat the trimmed backstrap completely dry with paper towels and inspect it once more before seasoning.
Tools You Will Need
A sharp boning or fillet knife, a cutting board reserved for raw meat, paper towels, and an instant-read thermometer are the essentials. A heavy cast-iron or carbon-steel skillet is ideal for searing, and tongs (not a fork) keep the crust intact when you turn the meat.
Seasoning and Marinating Deer Backstrap
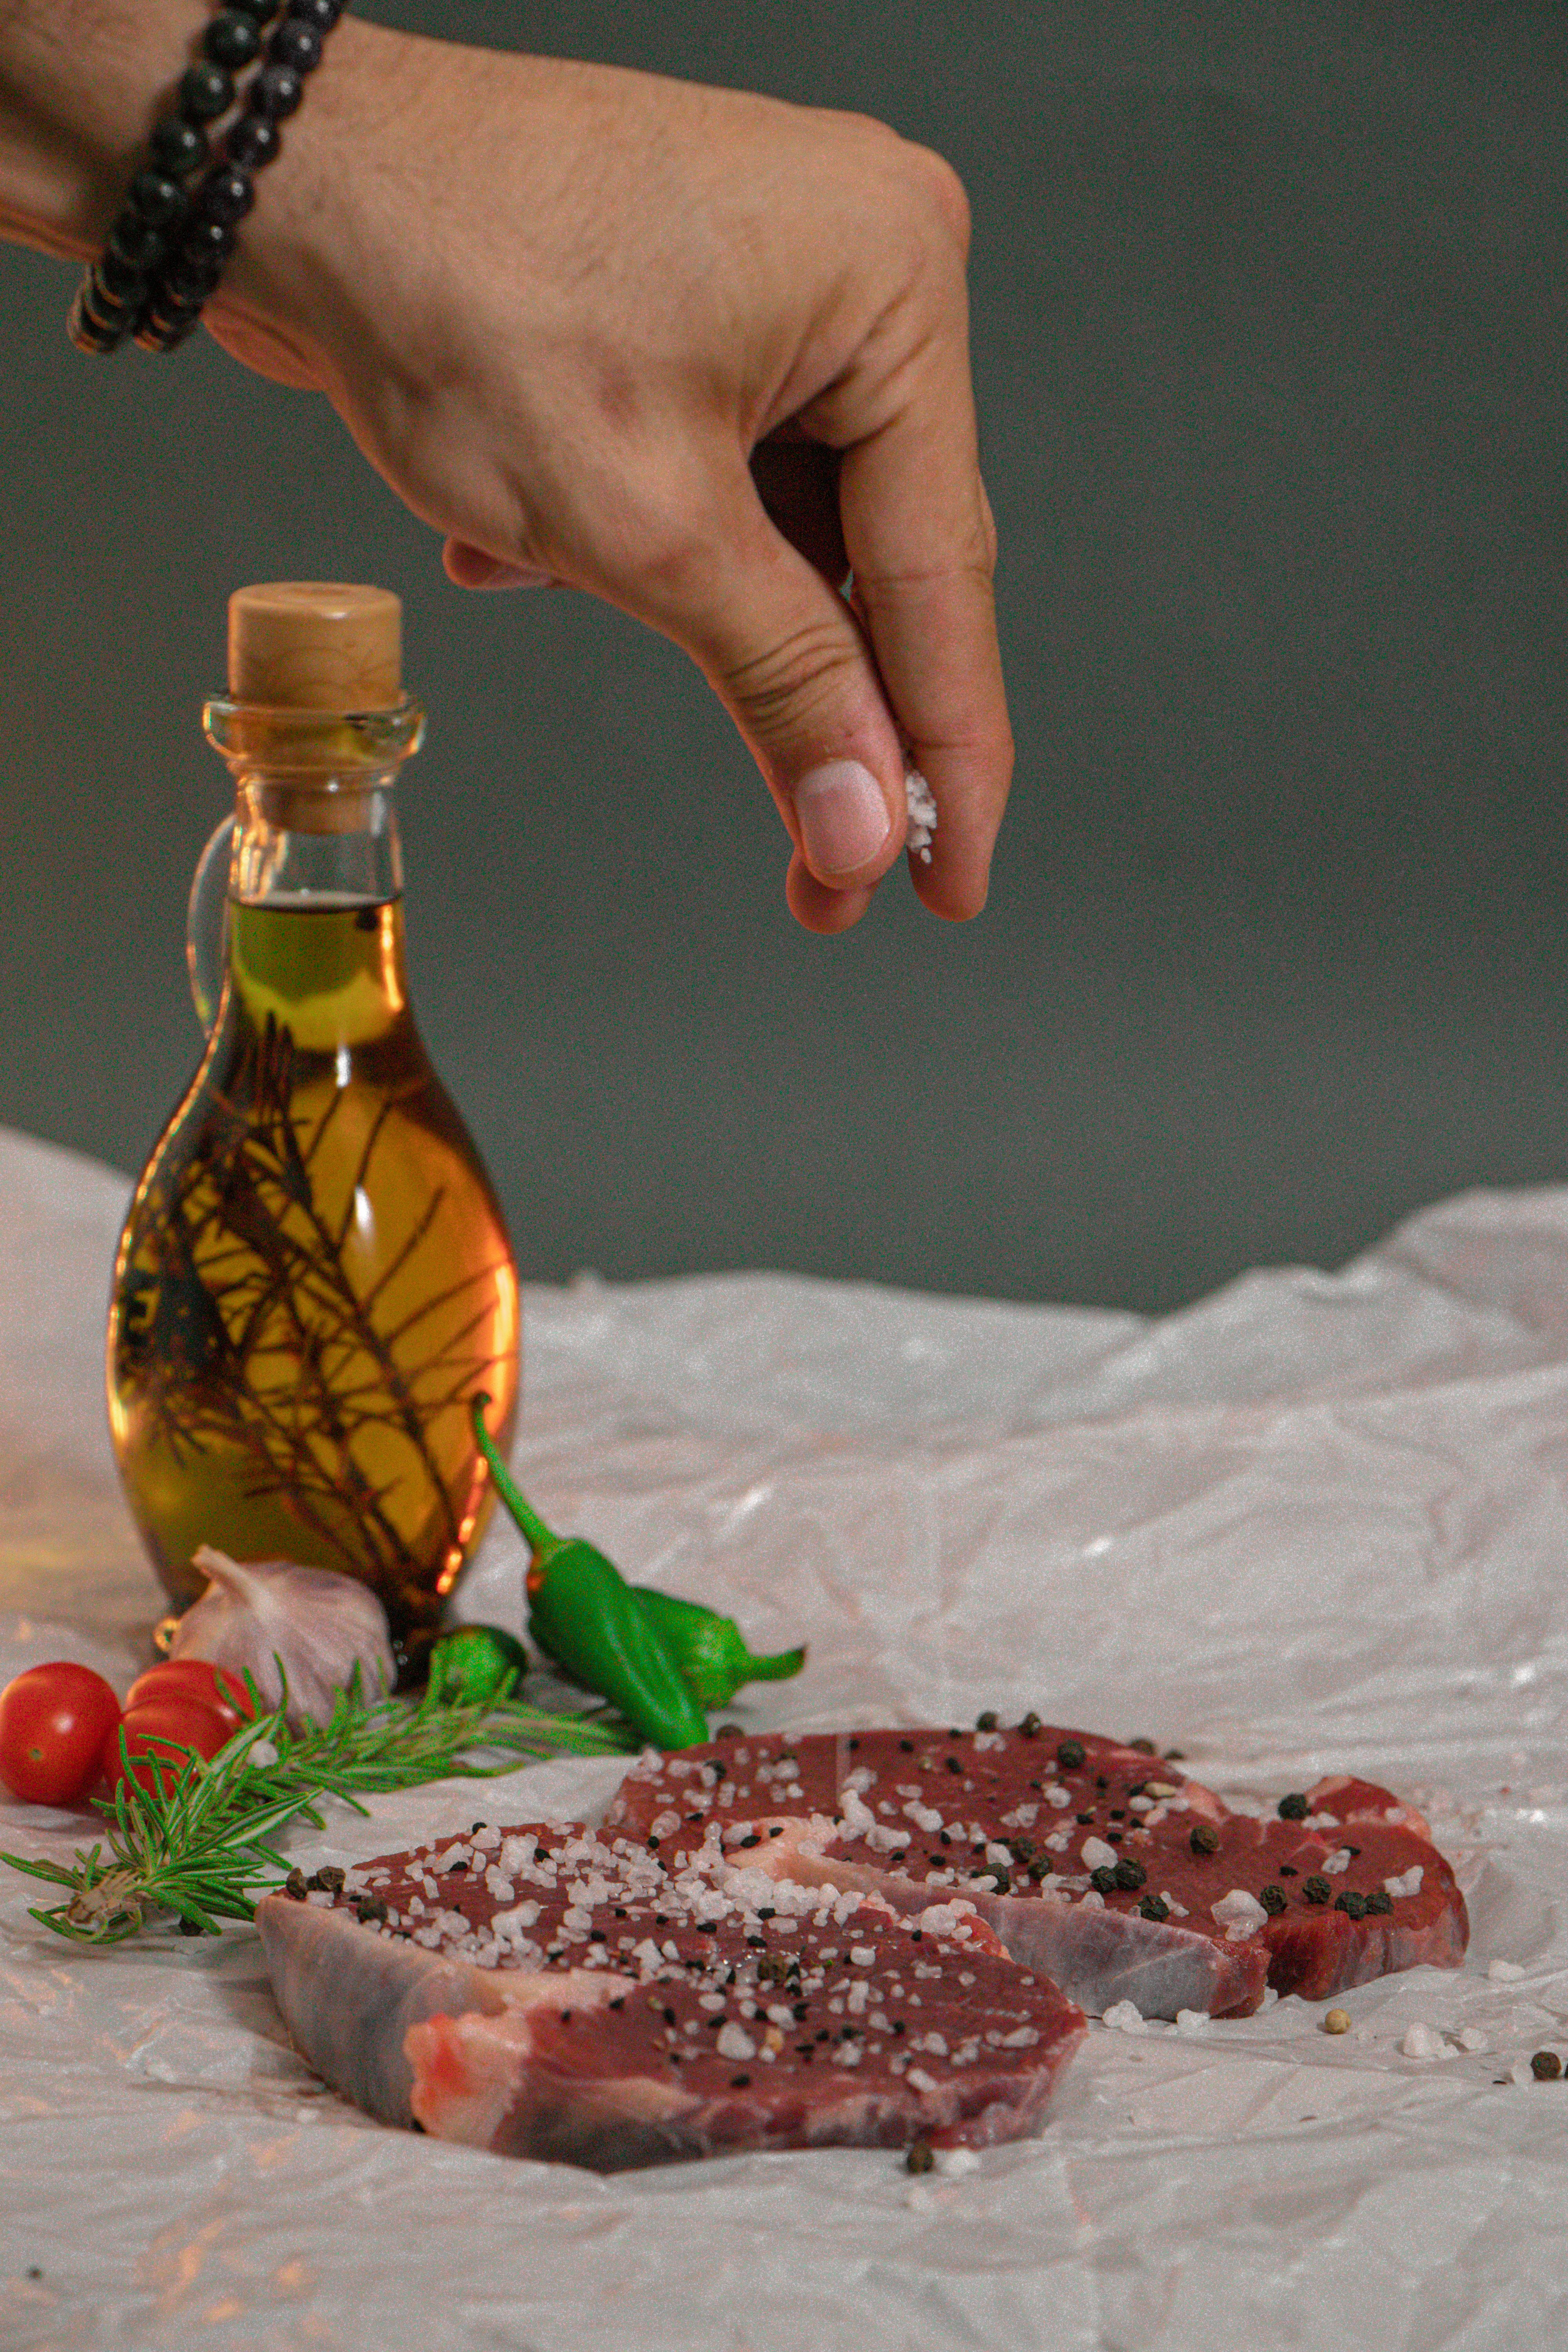
Great venison needs surprisingly little help. The meat has a clean, rich flavor that heavy sauces and overpowering spice blends can bury. When you are learning how to cook deer backstrap, start simple: generous kosher salt, coarsely cracked black pepper, and perhaps a little garlic powder.
Timing matters. Salt the meat at least 40 minutes before cooking, or — even better — the night before. An overnight dry brine in the refrigerator seasons the meat deeply, dries the surface for a better sear, and helps the backstrap stay juicy. If you are short on time, salt it right before it hits the pan rather than 10 or 15 minutes ahead, so moisture drawn to the surface does not have time to accumulate.
Let the seasoned backstrap sit at room temperature for 30 to 45 minutes before cooking. A cold roast hitting a hot pan sears unevenly and cooks unpredictably, while a tempered one browns evenly and reaches its target temperature on schedule.
A Simple Dry Rub
For each pound of backstrap, mix 1 teaspoon of kosher salt, 1 teaspoon of coarsely cracked black pepper, 1/2 teaspoon of garlic powder, and 1/2 teaspoon of smoked paprika. Add a pinch of dried thyme or crushed juniper berries if you like an earthy, woodsy note that suits venison beautifully. Rub it evenly over the trimmed meat and rest as described above.
A Quick Marinade
If you prefer a marinade, keep it balanced and brief. Whisk together 1/4 cup of olive oil, 2 tablespoons of soy sauce or Worcestershire sauce, 2 crushed garlic cloves, a sprig of rosemary, and plenty of cracked pepper. Coat the backstrap and refrigerate for 2 to 4 hours — no longer. Acidic marinades left too long can turn the surface mushy and mask the flavor you are trying to showcase. Always discard used marinade; never reuse it as a sauce unless you boil it hard for several minutes.
Pan-Searing: How to Cook Deer Backstrap Step by Step

Pan-searing is the best all-around method for learning how to cook deer backstrap. A heavy skillet gives you the hard, fast heat needed for a deep brown crust, and you can finish thicker pieces in the oven without switching pans. Here is the full process:
- Dry the surface thoroughly. Moisture is the enemy of browning. Pat the seasoned backstrap dry one more time just before cooking, even if it was dry-brined overnight.
- Preheat a heavy skillet. Set a cast-iron or carbon-steel pan over medium-high heat for 3 to 5 minutes, until it is just starting to smoke. The pan should feel fiercely hot when you hold your hand a few inches above it.
- Add a high-smoke-point fat. Swirl in a tablespoon of avocado oil, grapeseed oil, or beef tallow. Butter burns at searing temperatures, so save it for the basting step.
- Lay the backstrap in the pan and do not touch it. Sear for 2 to 3 minutes per side, turning with tongs to brown all surfaces, including the ends. Resist the urge to press the meat down — you will squeeze out juices and steam the crust.
- Baste with butter. In the last minute or two, drop in 2 tablespoons of butter with a crushed garlic clove and a few thyme sprigs. Tilt the pan and spoon the foaming butter over the meat repeatedly. This adds richness that lean venison welcomes.
- Check the temperature early and often. Start checking with your instant-read thermometer sooner than you think you need to. Backstrap goes from perfect to overdone in a matter of minutes.
Getting a Deep, Even Sear
Three details separate a good crust from a great one. First, the meat surface must be dry — pat, rest uncovered in the fridge, and pat again. Second, the pan must be fully preheated; meat added to a lukewarm pan will simmer in its own juices instead of searing. Third, do not crowd the pan. If your backstraps do not fit with an inch or two of space around each piece, sear in batches.
Finishing in the Oven
A whole backstrap is usually thicker at one end than the other, and very thick pieces need gentler heat after searing so the center cooks through without the exterior burning. The fix is simple: after searing all sides, transfer the oven-safe skillet directly into a 400°F (200°C) oven for 5 to 10 minutes, until the thermometer reads your target temperature.
An even more forgiving approach is the reverse sear. Roast the seasoned backstrap on a wire rack at 225°F (110°C) until it is about 10 to 15 degrees below your target temperature, then sear it hard in a hot skillet for 60 to 90 seconds per side. Because the meat heats gently and evenly, you get a wider band of perfectly rosy interior and almost no gray overcooked ring beneath the crust. Whichever route you choose, the thermometer — not the clock — decides when the meat is done.
Doneness Temperatures and Resting
Doneness is where most backstraps are won or lost. Because venison is so lean, it tastes best at medium-rare, when the interior is warm, rosy, and juicy. Use the table below as a starting point, and remember to pull the meat from the heat about 5 degrees before your target — carryover cooking will raise the internal temperature as it rests.
- Rare: 120–125°F (49–52°C) — cool red center
- Medium-rare: 130–135°F (54–57°C) — warm red center; the sweet spot for backstrap
- Medium: 140–145°F (60–63°C) — warm pink center
- Medium-well: 150–155°F (66–68°C) — slightly pink center; noticeably firmer
- Well-done: 160°F+ (71°C+) — little or no pink; best avoided for this cut
A Food-Safety Note for Wild Game
Venison deserves the same careful handling as any other meat — arguably more, since wild game is processed outside inspected facilities. Always cook venison to a safe internal temperature, and verify it with a food thermometer rather than guessing by color. The USDA’s Safe Minimum Internal Temperature Chart lists 145°F with a three-minute rest for whole-muscle steaks and roasts of domesticated meats, while the University of Wyoming Extension’s wild game guide recommends cooking wild game to an internal temperature of at least 165°F — see their research-based tips for handling, storing, and cooking wild game safely. When in doubt, follow the stricter guidance for wild-harvested meat.
Handle raw venison hygienically from field to plate: wash your hands, knives, and cutting boards with hot soapy water after contact with raw meat; keep raw venison separate from ready-to-eat foods; thaw frozen backstrap in the refrigerator, never on the counter; and refrigerate leftovers within two hours of cooking.
Why Resting Matters
Rest the cooked backstrap on a warm plate, tented loosely with foil, for 5 to 10 minutes before slicing. During cooking, the muscle fibers tighten and push juices toward the center; resting lets the fibers relax and reabsorb those juices. Slice too soon and the juices run out onto the board instead of staying in the meat — the difference between a juicy medallion and a dry one.
How to Slice Deer Backstrap

After resting, transfer the backstrap to a clean cutting board. Look closely to find the direction of the grain — the fine lines running along the muscle fibers. Position your knife across those lines and slice against the grain into medallions about 1/2 inch thick. Cutting against the grain shortens the muscle fibers, so each bite is tender instead of chewy.
Use a long, sharp carving or chef’s knife and make smooth, single strokes rather than sawing back and forth. Arrange the medallions slightly overlapping on a warm platter, spoon any resting juices over the top, and serve immediately.
Serving Ideas
Sliced backstrap medallions are the centerpiece — keep the sides simple and let the meat shine. For more cooking inspiration, browse the Food archive for other recipes that pair well with a venison dinner.
- Classic plate: creamy mashed potatoes, roasted root vegetables, and a spoonful of pan sauce made by deglazing the skillet with red wine and beef stock.
- Wild mushrooms: sautéed mushrooms with shallots and thyme echo the earthy flavor of venison beautifully.
- Bright contrasts: a bitter greens salad, pickled red onions, or a tart cherry compote cuts through the richness of the meat.
- Bold sauces: chimichurri, creamy horseradish, or a juniper-berry cream sauce all complement backstrap without overwhelming it.
- Next-day sandwiches: thin-slice leftover medallions for sandwiches with arugula, sharp cheese, and mustard on crusty bread.
Storage and Reheating
Refrigerate cooked backstrap within two hours and eat it within three to four days. For longer storage, wrap portions tightly in plastic wrap, then foil or a freezer bag, pressing out as much air as possible — vacuum sealing is even better. Properly wrapped venison keeps its best quality for eight to twelve months in a freezer set at 0°F or below.
To reheat without ruining the texture, go low and slow: warm slices in a 250°F (120°C) oven until they reach about 120–130°F internally, or flash them briefly in a hot skillet with a little butter. Avoid the microwave, which heats unevenly and turns tender medallions rubbery in seconds.
Common Mistakes to Avoid
- Overcooking. The number one way to ruin the backstrap. A thermometer is not optional — guessing costs you the whole cut.
- Skipping the trim. Silver skin will not cook away. Remove it before seasoning, not after.
- Cooking it cold. Meat straight from the refrigerator sears unevenly. Temper it for 30 to 45 minutes first.
- A lukewarm pan. Without fierce initial heat, you get steamed, gray meat instead of a browned crust.
- Slicing too soon. Cut into a resting backstrap early, and the juices flood the board. Wait the full 5 to 10 minutes.
- Cutting with the grain. Slicing parallel to the fibers makes even perfectly cooked meat chewy. Always slice against the grain.
- Drowning it in marinade. Hours in an acidic marinade masks venison’s flavor and softens the texture unpleasantly. Keep marinades short and balanced.
Frequently Asked Questions
How long does it take to cook deer backstrap?
A typical whole backstrap takes about 8 to 12 minutes total: roughly 2 to 3 minutes of searing per side plus a few minutes in the oven if it is thick. Always cook to temperature, not to time.
Can I grill deer backstrap instead of pan-searing?
Absolutely. Grill over direct high heat, turning every couple of minutes until the center hits your target temperature. The same rules apply: trim the silver skin, keep the surface dry, and do not overcook.
Is backstrap the same as tenderloin?
No. The backstrap is the large loin muscle along the outside of the spine; the tenderloin is a smaller, even more delicate strip inside the body cavity. Both are tender and cook similarly, but they are different cuts.
Should I soak venison in milk or salt water first?
Soaking is an old technique meant to tame strong-tasting meat, but properly handled backstrap from a well-cared-for deer does not need it. A good trim and simple seasoning will give you better flavor than any soak.
What is the best doneness for deer backstrap?
Medium-rare (130–135°F) is the sweet spot for most people: warm, rosy, and juicy. That said, always follow safe food-handling guidance for wild game and use a thermometer — see the food-safety note above.
Conclusion
Knowing how to cook deer backstrap comes down to a handful of habits: trim the silver skin, season simply, sear hard in a hot pan, trust your thermometer, rest the meat, and slice against the grain. Master those steps, and this prized cut will reward you with one of the finest meals venison can offer. For more recipes and kitchen guides, visit our homepage — and enjoy every bite of your next backstrap dinner.

I’m Nova, a skilled AI content writer with 3 years of experience, specializing in heartfelt prayers, Bible messages, and uplifting spiritual content.